A well-maintained kitchen knife is more than a tool—it's an extension of your skills in the kitchen. Yet, many home cooks unknowingly struggle with dull blades, risking their fingers and reducing the efficiency of their cooking. Did you know that a dull knife is far more dangerous than a sharp one? This guide will walk you through why that's the case and teach you how to maintain sharpness with confidence. Whether you’re an experienced home cook or just starting out, you’ll soon have your knives performing like a pro’s.
Why A Dull Knife is More Dangerous Than a Sharp One
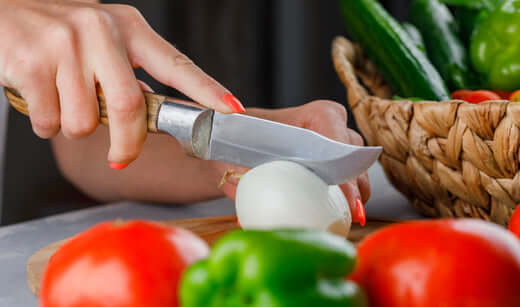
You might assume that sharp knives are the bigger safety hazard. After all, the blade can slice quickly through anything—doesn’t that make it riskier? Actually, no.
Here’s why dull knives are a problem:
- More force, less control: A dull knife requires more pressure to make a cut. This lack of precision increases the chance of the knife slipping and injuring you.
- Uneven cuts: A dull edge can’t glide cleanly through food, leading to jagged cuts that compromise both safety and presentation.
- Weakened technique: Working harder with a dull blade means you’ll get fatigued faster, increasing the likelihood of accidents.
On the other hand, a sharp knife slides cleanly through foods with minimal force. This gives you better control, makes prep work faster, and lets you enjoy cooking more.
Now that we’ve established why sharpness matters, here’s how to achieve it.
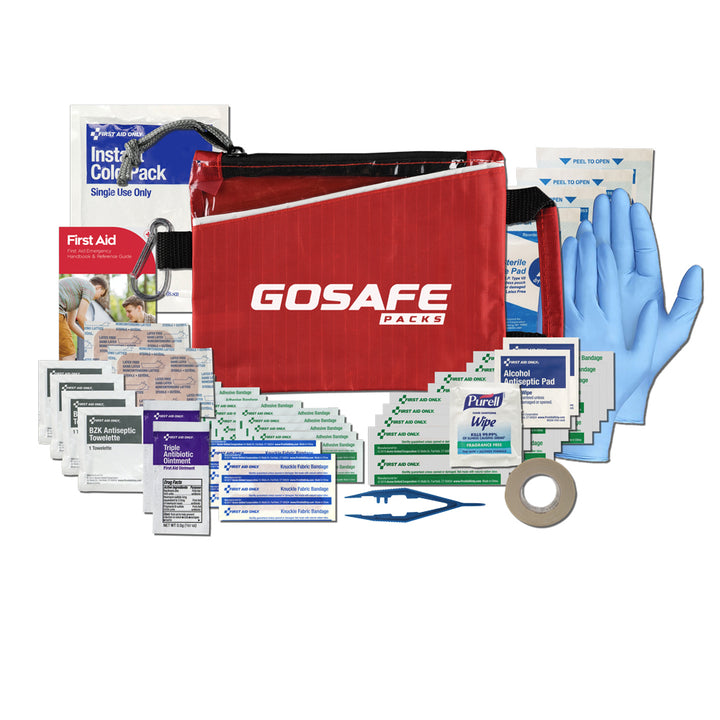
First Aid HomeMed Pack
$34.95
$41.94
Features: Stay prepared for emergencies with the HomeMed First Aid Pack. Loaded with essential medical supplies, this kit offers 240 pieces and includes everything you need for an emergency situation. Perfect for families and households. … read more
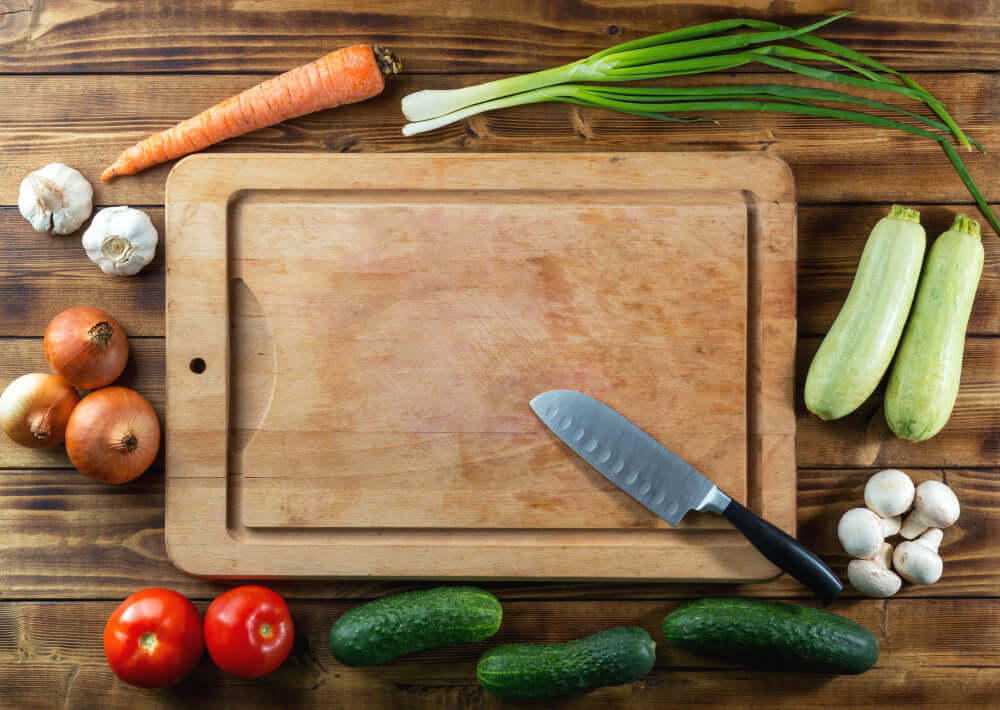
Tools You’ll Need for Sharpening Your Knives
Before jumping into the sharpening process, make sure you have the right tools for the job. Depending on your skill level and preference, you can choose among the following:
1. Whetstone
A classic tool among professionals, a whetstone gives you precise control over your knife edge. It requires some practice, but the results are unbeatable.
2. Honing Rod
Also known as a sharpening steel, this tool doesn’t technically sharpen but realigns the blade. Essential for maintenance between proper sharpening sessions.
3. Pull-Through Knife Sharpener
Ideal for beginners, a pull-through sharpener quickly restores a blade’s edge. However, it provides less precision than a whetstone.
4. Electric Knife Sharpener
A modern option that’s great for quick and consistent results. Just keep in mind that overuse can wear your blades quicker.
5. Leather Strop (Optional)
Used as a finishing touch after sharpening, a strop polishes the edge and removes lingering burrs for razor-sharp precision.
Step-by-Step Guide to Knife Sharpening
Step 1. Determine Your Knife’s Current Condition
Run your blade lightly along your thumbnail or try cutting through a tomato. Struggling to slice cleanly? Your knife needs some attention.
Step 2. Choose the Appropriate Sharpening Tool
If your knife has small chips or extreme dullness, a whetstone or electric sharpener is the best choice. For routine maintenance, a honing rod or pull-through sharpener works well.
Step 3. Sharpening with a Whetstone
Using a whetstone provides the best results and keeps your knives in top condition. Follow these steps:
- Prepare the stone: Submerge the whetstone in water for 10-15 minutes.
- Set the angle: Most knives should be sharpened at a 20-degree angle (15 degrees for Japanese knives). If unsure, match the angle of the factory edge.
- Start sharpening:
- Hold the blade at the correct angle.
- Slide it across the stone in smooth, sweeping motions while applying light pressure.
- Repeat 5-10 times per side.
- Refine the edge:
- Flip the stone to its finer grit side and repeat the process.
Step 4. Honing Between Sharpenings
Once your knife is sharp, maintain it regularly with a honing rod:
- Hold the rod at a slightly tilted angle.
- Slide the blade downward along the rod in one smooth motion.
Repeat for about 5 passes on each side.
Step 5. Polish the Blade
If you have a leather strop, now’s the time to use it. Slide the blade over the leather in the opposite direction of the cutting edge to remove burrs and achieve a mirror-like finish.
Step 6. Clean and Store Properly
After sharpening, always wash and dry your knife to remove debris. Store your knives in a knife block, on a magnetic strip, or with blade guards to prevent damage.
Tips for Maintaining Knife Sharpness
Consistent maintenance ensures your knives stay sharper for longer. Here are some pro tips to keep in mind:
- Use a cutting board: Avoid hard surfaces like granite or glass, as they dull blades quickly.
- Avoid the dishwasher: Hand-wash your knives to prevent damage from harsh detergents or clanking.
- Sharpen regularly: Depending on usage, sharpen your knives every 3-6 months.
- Hone weekly: Honing realigns the edge and keeps it sharp between more thorough sharpening.
When to Replace Your Knife
Even the best-maintained knife will eventually wear down. Here’s how to know it’s time to say goodbye:
- Visible chips or cracks in the blade.
- The knife no longer sharpens effectively.
- The handle becomes loose or uncomfortable to hold.
First Aid QuickMed Pack
$24.95
$29.94
Features: Ripstop nylon bag Handy front pocket, durable carabiner and a handle An essential part of any household or workplace. Designed to efficiently treat burns and injuries. Keep your safety a top priority with this comprehensive pack. … read more
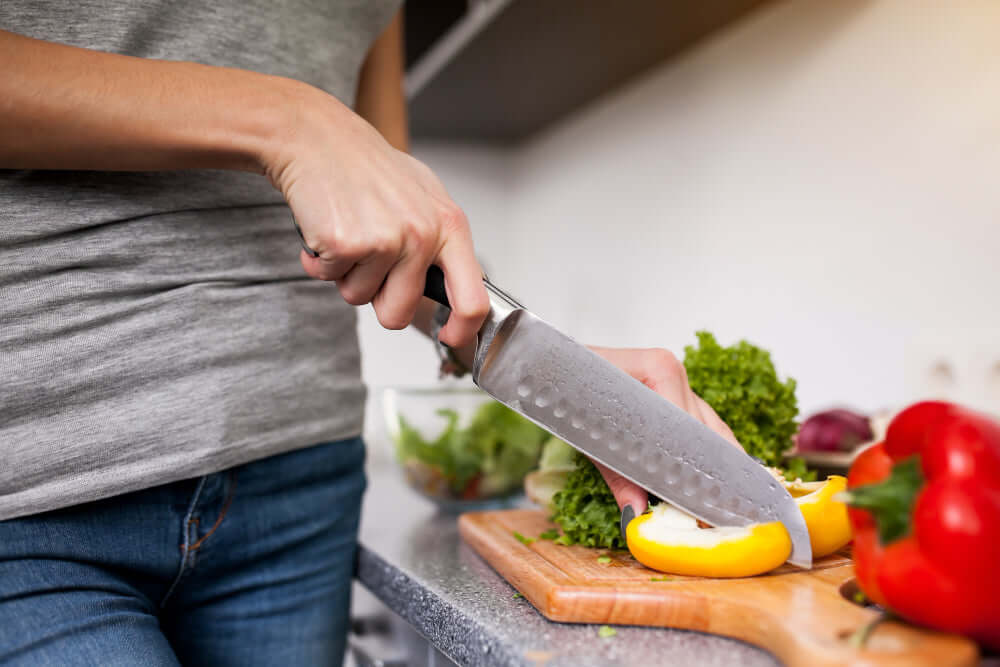
Why Knife Care Matters
A sharp knife is the secret to mastering your kitchen skills. It makes meal prep faster, safer, and more enjoyable. With the right tools and techniques, you’ll always have a blade that slices cleanly, whether you’re chopping vegetables, carving meat, or slicing delicate herbs.
If you’re ready to take your cooking experience to the next level, follow this guide and keep your blades in top shape. Not only will you be cooking more efficiently, but you'll also feel like a pro in your own kitchen.